Repairing a Golden Tee Go Arcade
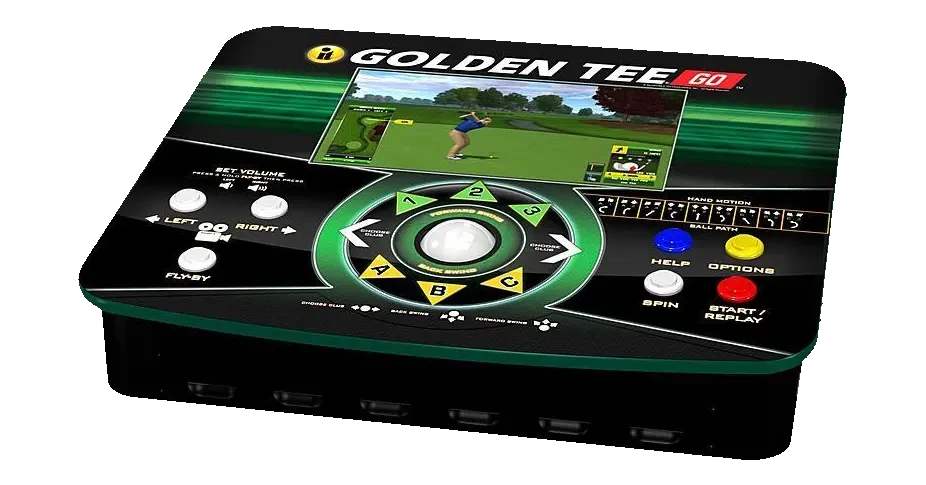
My brother-in-law recently had a Golden Tee GO machine from Incredible Games stop working. It is the original version with the screen built into the cabinet. He was playing it when it just shut off and smelled like electrical fire.
Opening it Up
Opening up the cabinet was fairly straight forward, lots of phillips screws around the perimeter and the lid lifted off. For whatever reason, they did use four Torx security screws (size 15) on the handle which also locked the power supply in.
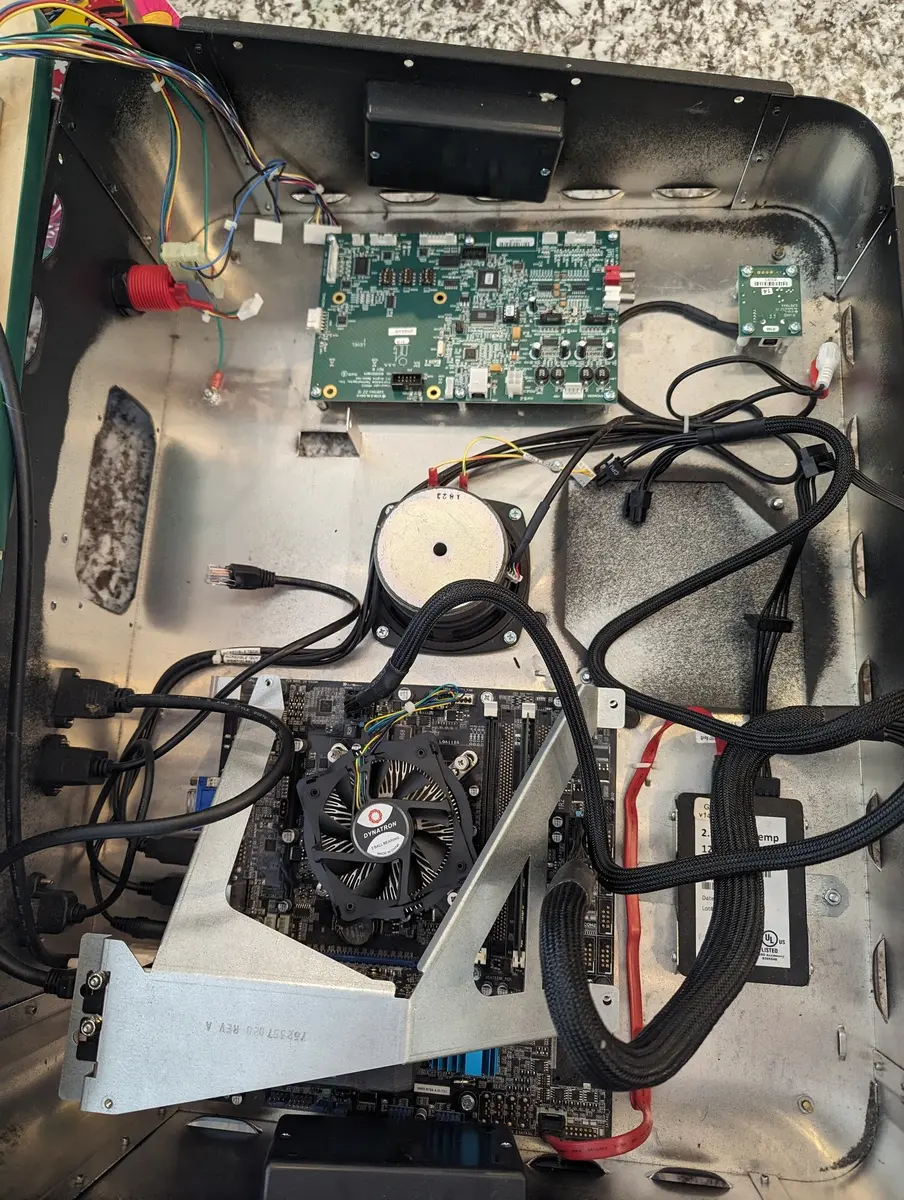 Original power supply already removed, my test supply didn’t fit inside the case
The Diagnosis
Inside the machine is a regular motherboard with a graphics card in addition to the other components. Attached via USB is another board (I think called the I/O board) that interfaces with controls and audio. A third smaller board (again connected with USB) I believe is the security or OID (operator ID) board. After examining the boards, we didn’t find any evidence of blown caps or physical damage. When attempting to power up it up, a green LED on the motherboard illuminated, but nothing else happened. The power supply was already the prime suspect, but it seems like only the 12v rail was bad. After unplugging all of the power supply connectors, we attempted to jump start the power supply, but nothing. (Use a jump start plug - or with the clip facing you, short the fourth and third pins.)
 Manually start a power supply
Testing with Bench Power Supply
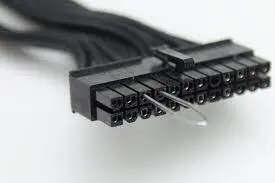
Before ordering a new power supply, we wanted to test that everything else still worked. I grabbed a modular power supply I had, and connected the mother board (CPU and 24 pin) as well as the SATA SSD drive. The screen had some 2 pin 12v connected which we left unconnected. The “I/O Board” had a 4 pin CPU connector. Easy enough, or so we thought.
Even though IT Games used a CPU connector on the I/O board, it does NOT have the same pin layout. A standard CPU connector has two 12v pins and two ground pins. The I/O board wants a 12v pin and a 5v pin along with the two 5v pins. Do not plug a standard CPU connector into the I/O Board!
At this point we attempted to power it on. The CPU fan stuttered but immediately shutoff. Similar to when diagnosing computer build issues, I started removing things from the motherboard… the graphics card, the USB connections, audio, everything. With everything disconnected, the motherboard spun to life. At this point I was thinking the graphics card was bad. However, after plugging that back in, the motherboard continued to POST. One by one I added back connections until I discovered the I/O board was the issue. I examined it again looking for any blown caps or physical damage, but didn’t see any. And that’s when I discovered they even though they were using a CPU connector, they were not using the standard voltage on the pins.
Abandoning Standards
For some unknown reason, IT Games decided to abandon the standards and put custom voltages on the CPU connector. Rather than two 12v pins and two ground pins, they repurposed the plug with one 12v pin and one 5v pin. If the I/O Board requires 12v and 5v, why not use the existing molex connector which already has these voltages?!?
Replacing the Power Supply
With the knowledge that we needed 12v and 5v to the I/O board, it was easy enough to make my own plug using a CPU connector and the molex plug on the power supply. A few cuts, confirming the location of the pins, and crimps and it was good to go. Once the correct voltages were used, everything powered up correctly. Lights on the I/O board were flashing as well as the OID board.
Unfortunately, it still did not boot into the game.
New SSD
Jumping into the BIOS, I found it was not detecting the disk. I removed it to check in another machine and it was still not recognized. So either it was fried during the power supply going bad, or, I fried it by feeding 12v into the 5v bus on the I/O board (connected via USB to the motherboard)… maybe? Either way, we needed a new drive.
I called IT Games customer support to see if they sold replacement drives. I was concerned the drive was linked to the OID board or some other hardware. However, customer support confirmed the drive was not locked to any hardware. They thought they could sell a new hard drive, but were not sure of the price. I asked if we could download the disk image and write our own disk - they said no. They were also confused because my brother-in-law had upgraded the Golden Tee GO to online edition by purchasing an upgrade USB from them. This USB stick turned out to be our path to recovery.
I inspected the USB stick, and I was able to find their upgrade Bash script. The script contained logic to wipe and recreate partitions as well as writing TAR files to the partitions. So this operation was actually a full disk write, not an in-place upgrade. After making a few tweaks to the upgrade script, I was able to create partitions and write data on an SSD. I don’t want to include their entire script, but here is the diff from the upgrade script found at the root of the USB stick.
1
2
3
4
5
6
7
8
9
10
11
12
13
14
15
16
2,3d1
<
< set -x
12d9
< dirsrc=/media/sam/A38A-3083
109,110c106
< 	echo "mkfs.ext3 -F -b 4096 ${dest}$i"
< 	whoami
---
> 	echo "mkfs.ext3 on ${dest}$i"
112d107
<
163c158
< 		names=`find ${dirsrc} -iname "part${i}-*.tar" -print`
---
> 		names=`find /mnt/cdrom -iname "part${i}-*.tar" -print`
Basically I set the dirsrc from the expected CD-ROM to the mount point the USB stick. I then corrected a hard coded /mnt/cdrom later in the script and used their ${dirsrc} variable. I added the whoami as a debugging due to an error creating the partition. However, simply adding the whoami for debugging caused the error to go away, so I didn’t look into it anymore.
Up and Running
Somehow I got lucky and didn’t fry anything else when putting 12v into the 5v pin on the I/O board. In the end, after a new power supply and SSD, Golden Tee GO was back up and running. I even have the upgrade USB tucked away on my NAS in case its ever needed again (see Backup USB Jump Drive to Disk Image)
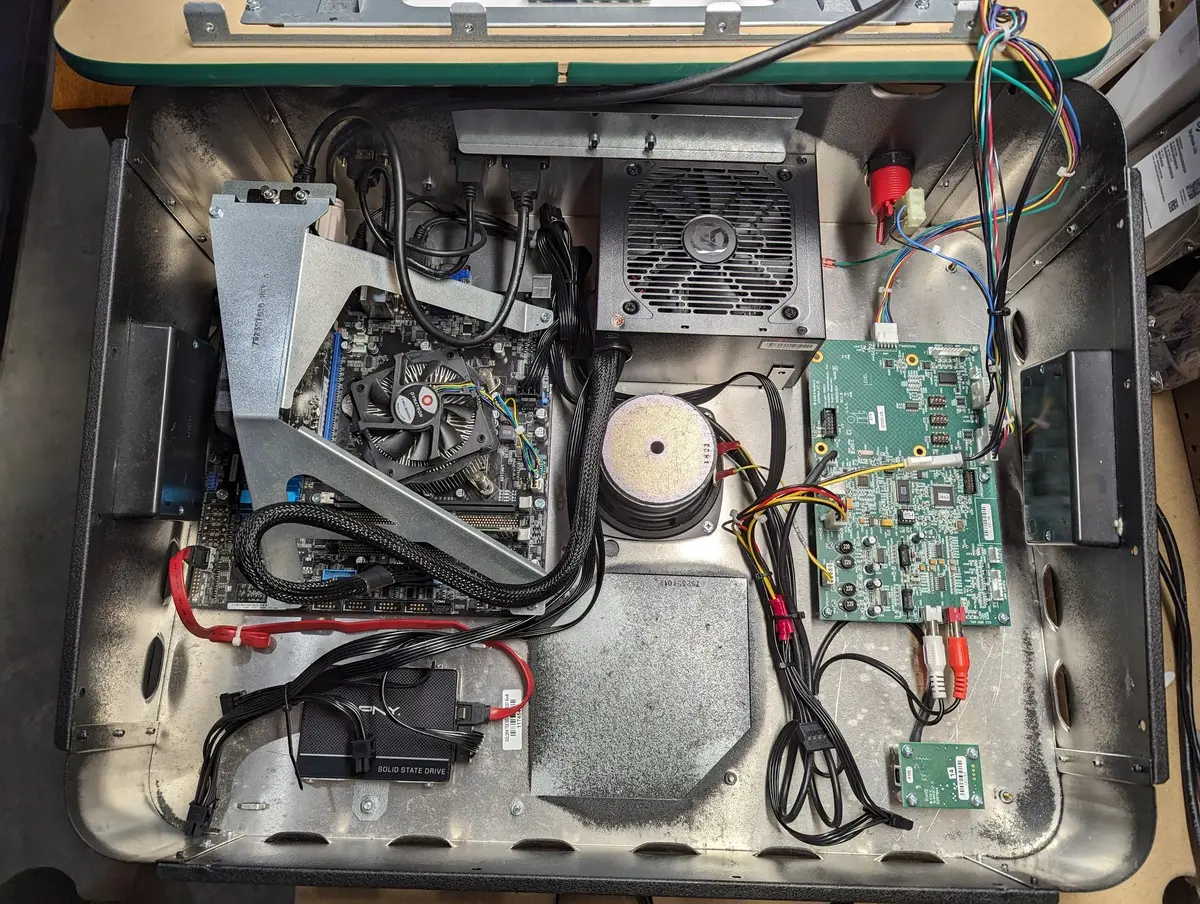 New PSU and SSD, ready to be closed up
Happy golfing!